Anyone who’s ever made it big on YouTube has started somewhere. For a lot of people, filming the first video is the biggest barrier to pass for working on YouTube.
Step 1: Don’t Think Too Hard
Of course, you do need to think about what you’re doing, but this is your first video! The longer you spend trying to figure out what it should look and sound like, the less likely you are to actually make it. As soon as you’ve got an idea and a script (if you want to use a script), you should just start filming.
Don’t get caught up in research, don’t spend a long time doing SEO, and once the video is filmed, don’t sink hundreds of hours into getting the editing done perfectly.
At this point, the best way to work is just to get things done. You can iterate your approach to improve it over time, but your first video, no matter how much work you put into it, will never be perfect anyway, so just don’t sweat it.
There’s no need to work on anything about your channel before you make this video either. All you need to think about right now is the video itself. Logos, thumbnails, the about section, none of it is especially important at this point. The only thing that you need to do is create this video.
Step 2: Write The Script
If you’re going to use a script for your video, then you’ll want to have it written before you start filming. When we talk about a script, in reality, a lot of creators will end up using something more like an outline.
While your YouTube outlines could look like anything you like, there are four types of prewrites that are commonly used. Full scripting, bullet points, notes or freeform, and post-recording outlining are all organization tools that can help you get an idea of what your videos will look like.
Full scripting is probably what you think of when you hear about scripting a video. It involves you carefully writing out everything that you are going to say in the video before you start recording.
Bullet points will usually end up looking like a general outline that gives you a guide on the facts, topics, or questions that you plan on covering in the video. You can use as few or as many as you like.
If you go freeform, you might hardly have any outline at all. Many people simply think of a topic that they want to talk about and just say what they’re going to say. You might have a few notes set aside to make sure you keep on track, but if you don’t want to use them, then don’t.
Finally, you might make your outline during the cutting process after you’ve already made your recording. This is useful if you already have a good idea of the facts that you’ll be talking about but don’t know what the video is going to look like afterward or what order it should be in. Simply edit it post-recording to be outlined in the way you want.
For your first video, do whatever makes you feel the most comfortable. If you feel the need to script everything in detail, then do it. If you’d rather just talk into the camera, then do that.
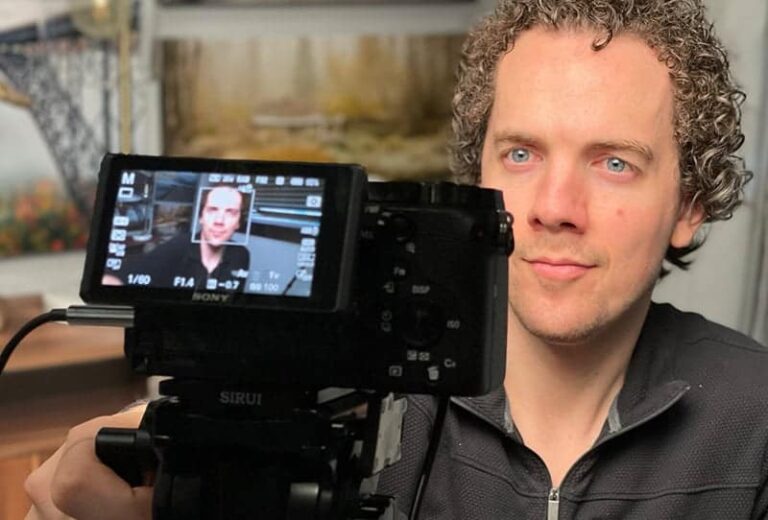
Step 3: Gather Equipment
Just like with the first step, you shouldn’t worry too much about what your equipment looks like for this first video. However, you’ll want to make sure that you have all of it together before you start work. After all, if you don’t have a camera, you won’t be able to film yourself, will you?
You can start with your phone camera without needing anything else. The quality will be pretty low, but that’s not what matters yet. What matters is just getting a video out.
For audio, your phone or computer audio will work fine, but if you need to get a nicer mic, then you should shoot for something that costs less than a hundred dollars. Unless you plan on recording music, it will usually yield better results to record in a quieter area than it will to record with a better microphone.
If you’re appearing on camera, you may eventually want to get some nice lights to improve the overall lighting in your video. For now, just position your camera in a place where you can use sunlight or find a spot where the lights in your home look fine on camera.
If you need specific equipment for your channel, gather that at this stage as well. Drawing tablets, artistic supplies, game controllers, or props to show off in the video are all examples of other equipment that you might need to gather.
Having all of your equipment together before you start filming will help you be able to get it done in one or two sessions fairly easily. It will also help you stay on track during the process, since you won’t have to leave your filming space to go find the things that you need to film with.
Step 4: Practice Run
Turn on the camera and go. Don’t worry about mistakes, just run through everything that you want to do for the first time. You can worry about making mistakes in your next go-around, but this step is just about getting a feel for what you’re doing.
Once you’ve run through your whole script and have recorded it, give it a watch. Rewatching your work will give you a chance to notice the less obvious mistakes that you made throughout the process, but more importantly, it will give you an idea of what your shot looks like and whether you need to adjust the camera.
For instance, if you go from sitting to standing over the course of the video, you’ll need to either set up a second shot or allow yourself significant headspace for filming. This is the part where you start solving the visual problems that you might have before they happen.
If you aren’t taking a video of yourself because you’re doing a voiceover channel, this is a good time to make sure your voiceover sounds good. If it doesn’t, you may want to try and find a quieter part of your home to record in. You could try recording in a closet or in a bedroom, as small spaces and spaces with lots of soft objects tend to be the best for reducing noise.
Step 5: Record the Video
This is the part where you might start over if you make a mistake. The more you work on your project, the better of an idea you’ll get about what a production schedule looks like for one of your videos. Since this is your first video, you won’t really have the benefit of experience yet, which means you’ll just have to mess around and find out what works for you.
Don’t worry about efficiency or putting on the perfect performance. All you need to be doing is making your video. Take your time, but don’t let yourself spend too much time on this first video. While you’re making your first video, you aren’t on a schedule yet, so you can use as much time as you feel like you need.
However, whatever you do for this first video will set up your habits for how long future videos take to produce. If you work too slowly, you might end up feeling like every video you make has to be a big project. If you work too fast, you might end up rushing future videos and hurting their quality.
The most important thing is that you get the video done. Whether it takes hours or days, finishing the recording will let you move on to your next step. Keep track of how long everything takes so that when you do it again, you have an idea of how much time you need to schedule to get it done.
During this step, you’ll record videos of yourself (A-roll) and videos of other things to play under your voice (B-roll). If your channel is the kind of channel that does both things, learning how to do this successfully is important. Right now, it’s just important that you practice doing it.
Step 6: Review Footage
Now that you’ve gotten all of your footage, you’ll want to go back through everything that you’ve recorded and decide which footage you actually want to use. This step can be kind of painful, as it involves watching or listening to all of the mistakes that you made while you were recording.
Fortunately, you only need to listen to your worst mistakes once. When you know for sure that you don’t want to use a clip, you can delete it off your computer and never think about it again.
Once you’ve found the right clips for everything that you want to say during your video, you can move on to the editing part.
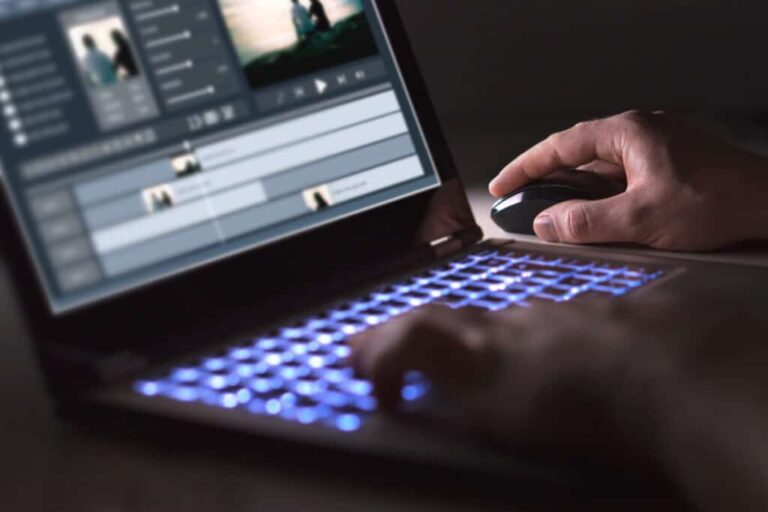
Step 7: Edit the Video
Depending on what you do, this can be a very short process or a very long one. The longer your videos are, the more time you’ll spend on editing. You’ll also spend more time on editing if you’re cutting down longer sections into shorter clips.
At this point, you may want to try getting some kind of editing software, but this probably isn’t necessary yet. Before you spend money on this channel, you’ll probably want to spend more time with it figuring out if it really is something that you want to do. For now, use whatever software is already on your computer.
You can find tutorials for Windows Movie Maker, iMovie, or OpenShot on YouTube fairly easily if you get stuck on some particular part of the video. Never feel bad about asking for help! Video editing is much easier once you have an idea of what you’re doing, so going online to catch up on the basics of whatever program you’re using will yield much better results than not doing so.
Step 8: Upload!
Once the video is edited to satisfaction, it’s time to upload it onto YouTube. This is the part where you’ll have to decide for sure on a title and choose your thumbnail. It’s easier to get clicks if your thumbnail looks more professional, so rather than just picking a frame from your video, you might want to do some separate art or photography to clean it up a bit.
Like with everything else, you should avoid making a big deal of the thumbnail. Make something that looks nice and then click ready to upload. You’ll learn more about thumbnails as you keep making videos, but this first video just needs to get done.
Uploading videos to YouTube takes time, so celebrate your achievement while you wait. Play a game, eat a meal, talk to a friend. You did it! You made your first video. Now the question is: When do you start working on the next one?
Sir Terry Pratchett, the author of the Discworld series, told people at sci-fi conventions who asked him this question about his novels that he started the next one as soon as he finished the one he was working on. For YouTubers, the answer should be that you start working on your next video once your first video is finished and uploaded.
As you come to understand your process better, you’ll find that you start spending more time with the video after it’s been uploaded as well, messing with the thumbnail or replying to comments. For right now, don’t worry about that. Just start working on the next video.
In fact, don’t worry about any of that stuff until you’ve made about twenty videos. This is all part of the earliest stages of your channel, which should be all about just doing things to get yourself into the habit of the process. Here’s a video about this step and the next steps that you’ll be taking to build your YouTube channel into something that you can feel proud of.